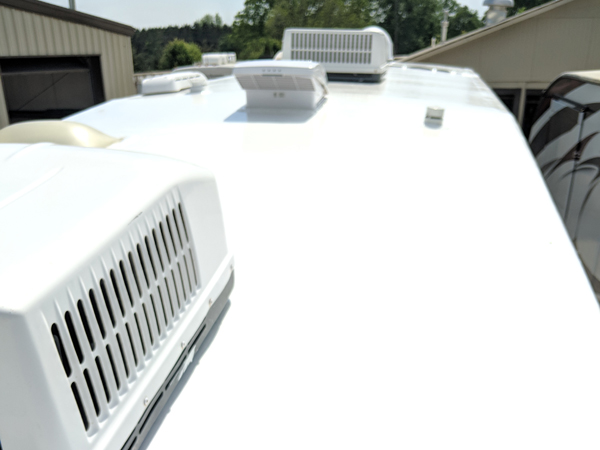
Recreational vehicles face a lot of exposures that can lead to damage to the exterior, including the roof. In fact, the roof of an RV is most at risk for needing repairs, and the problem that occurs the most is leaking.
Water leaking in through seams in the roof can wreak havoc causing hundreds, sometimes thousands, of dollars in damage to the interior of the camper. Who needs that? Not you, which is why you should just invest in the best RV roof seam sealant so you don’t have to worry about hazardous leaks.
How Does Water Get In?
Your RV roof has places where there are interruptions in the roof material. These are to allow for things like vents, pipes, AC units, and other implements. You may also have a roof that has seams where the actual roof material comes together because it isn’t made from one solid piece.
All of the places where there is a break in the material can potentially lead to gaps where water can make its way in to the interior. Moisture is one of the things that causes the most damage to an RV. It can ruin furniture, appliances, other electronics, and materials covering walls and floors.
The vents and other openings in your camper’s roof should be sealed with roof seam sealant that keeps water out. However, without regular inspections of the roof, an owner might not be aware that the caulk that was once in place has started to gap. That can happen if a branch scrapes the rooftop, or repeated ice exposure could cause gapping.
A Solution to the Problem
If you find there is an existing opening anywhere around the seams on your RV’s roof, take the time to apply the best RV roof seam sealant to close the gap up. You want your roof to be completely waterproofed so it’s protected from the elements it will be exposed to during regular use.
The application process is easy. You’ll want to make sure the roof and the seam areas are clean and clear of debris, grease, and oily residue. Allow for the surface to dry completely also so the sealant can set and cure properly.
The best way to apply roof seam sealant, which comes in a tube, is to get a caulk gun. This will allow you to pump the sealant out in a clean, straight line for a more precise application.
You’ll want to allow for at least 10 hours to see the sealant dry completely. It will feel dry to the touch at about four hours, but you need to let it dry all the way through. Don’t travel with your camper for at least 24 hours after applying the roof seam sealant.
Sometimes the caulk won’t match the color of your roof. The best RV roof seam sealants will allow for you to paint them once they’re dry to match your camper’s roof color.
You Can Be Proactive
You could do yourself a big favor and just be proactive from the start. When you get your RV, perform a thorough inspection of the roof and all of its seams. Instead of waiting to see if it has a leak somewhere, go ahead and apply RV roof seam sealant to all of the seams.
Stopping a leak before it happens is the best way to save time, money, and a lot of headaches later. If you wait until you know there is one, you could be looking at an entire roof replacement, as well as repairs and replacements for much of what’s inside the camper.
Be proactive with the best RV roof seam sealant and you’ll avoid costly reactions later.


