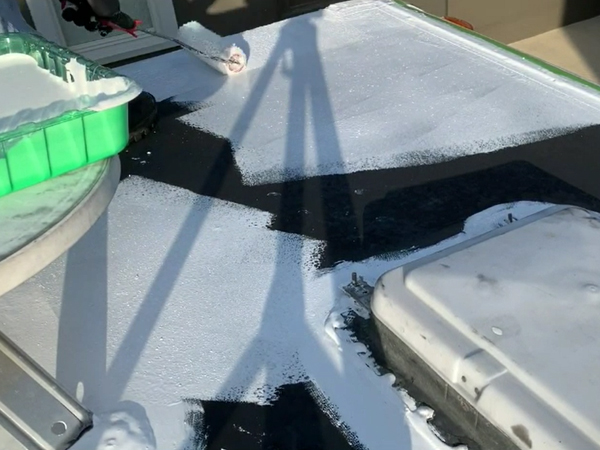
EPDM is by far the most typical roof type in the RV industry. The reason for this is simple. EPDM has been proven time and time again to be one of the most weather-resistant and durable roofing solutions on the market. This is especially important for RVs and motor homes, as they are constantly on the move and frequently finding themselves in inclement weather.
If your RVs roof has sprung a leak, there is no need to panic. Even though it may seem daunting to hop up on the roof and fix the problem, in most cases the repairs are simple to make. All you need are the right tools and a little bit of knowledge, and that leak will soon be plugged!
Even though the original EPDM is exceptionally durable, the truth is that over time everything fades and wears out and the membrane will chalk exposing the black. While your EPDM roof will last longer than other roof types for your RV, at some point it will become necessary to make repairs.
You will need three things. The first is a reputable liquid coating that has proven itself in the industry. In a nutshell, a product like RvRoofMagic is a liquid version of rubber in this case Butyl Rubber. It does go further than other coatings on the market as its proprietary solvent allows for a chemically cross-link to occur whereby the coatings and your roof become one in the same. After applying the product to your roof, it will dry and fill in holes and extend your roof another 15-18 years. Secondly, you are going to need a 3/8-inch nap roller, which you will use to apply the product evenly to the surface of your RV or motor home’s roof. This will allow it to self-level as it dries. Finally, you are going to need something to clean that roof. We suggest Roof Protect available at: https://www.epdmcoatings.com
Making sure that your roof is clean prior to applying any coating is essential. Roof Coatings products in general air dry or chemically bond to the surface of your RV’s roof, if there are any contaminants between the bonding agent and your roof, imperfections will be made. These imperfections that are made while applying the coating to your RV will very quickly become repairs. Do not let yourself get into a cycle of continual repair!
After you have cleaned the surface of your RV’s roof, you will then need to apply the RvRoofMagic over the existing one. To do this, all you need to do is simply spread the product over the surface of your RV’s roof using a roller. It is that simple! While you are doing it, be sure to use an even coat.
What About Minor Repairs?
These are simple, too. To repair simple tears and other small imperfections and problems, you can generally use a Rubex Caulk. Like before, you will want to make sure that you have adequately cleaned the spot of the repair, as debris and other dirt will drastically undermine the efficacy of the roof coating that you’re using. It is also worth noting that in some cases you may only need to use specialized tape to cover up the tear. Another point to note is if there are any separations in the seams of the roof, we suggest applying either a web tape or eternabond tape first on the seam prior to the application of the coating. This will ensure that the seams are totally encapsulated in the product, and you will not need to worry about the seams again.


I have a 94 Teton 40 foot 5th wheel. The area where the roof curves over to the side of the RV seems to be a little thin. I purchased FB-180 polyester Km-mesh to help reinforce the curve. Do I put on a layer of Roof magic and then the mesh following with more roof magic, or do I use caulk to secure the mesh in place and then cover with roof magic?
correct first one coat of the rvroofmagic then embed the fabric and let dry then a second coat
Thank you