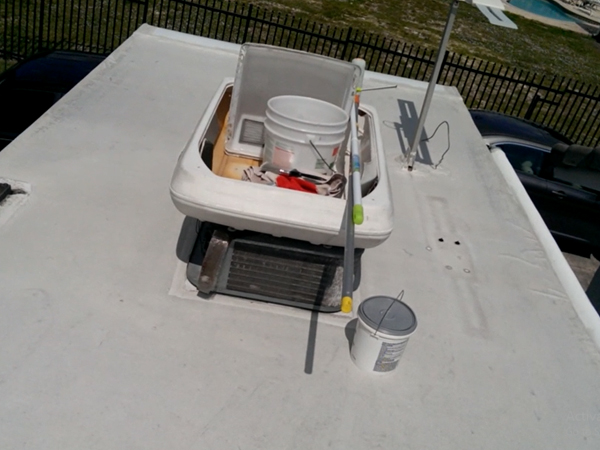
Preventative maintenance is an important part of owning an RV. Unlike a standard vehicle, RV’s generally take a bit more wear and tear because of their size, and much of that comes down on the roof. You can’t exactly park your RV in a two-door garage, so more often than not, it’s left out in the elements. Therefore, you’ll want to regularly inspect and maintain the roof to prevent unwanted damage from ruining your investment. Keeping your roof in top condition will help prevent leaks and keep the roof from breaking through. To do this, you’ll want to apply and RV roof sealant. If you’ve never done this before, don’t worry—we’ll walk you through the process step by step.
Inspect Your Roof
Before you go out and get all the equipment to seal your roof, it’s a good idea to give it a look over. Sometimes your roof needs a good cleaning. Other times, sealing it might not be enough to fix the damage. Look for cracks or leaks that would need to be filled. Keep an eye out for signs of aging or weathering. Get to know the layout of your roof repair, and you’ll be more ready to tackle the sealing process.
Clean the Roof
Before you seal the roof, you’ll want to give it a good clean. Be sure to use a cleaner specifically decided for rubber RV roofs. As durable as they are, rubber roofs are surprisingly sensitive to certain chemicals. Going with a generic soap to clean your roof might damage it (avoid anything made of mineral spirits or petroleum distillates). Once you’ve sprayed the cleaner around the roof, get down on it with a brush and start scrubbing. Once it’s good and clean, give it a rinse and leave it to dry. Cleaning your roof will help the sealant actually adhere to the roof’s surface rather than to any dirt or grime.
Apply the Sealant
Starting at the edges of the roof, go around with a brush or a roller and work your way around the roof. Slowly work your way around and around until all has been covered. Be sure to apply an even coat all around. If you are unhappy with how thick the first coat is, you can go back with a second coat once the first has dried. For antenna and vent openings, we recommend using a caulking gun. Go around the edges with the sealant, making sure to get into the cracks and crevices between the connections. You want to make sure that the sealant has completely covered any opening as missed spots can easily grow into leaks that’ll be difficult to spot in the future.
Some Last Tips and Tricks
- For nice clean edges, we highly recommend laying down some painter’s tape to keep the sealant from running down onto the sides of your RV.
- Invest in a quality roller brush with an extendable handle. You’ll save your back by not having to bend over.
- Don’t be afraid to lay down a second coat. The benefit of RV Roof sealants is that you can keep adding coats until you’re satisfied with how it looks.
Conclusion
Keeping your RV’s roof well maintained will keep you out on the road for years longer than if you let it fall into decay. Checking in for damage, cracks, or leaks yearly is a great first step, but remember to clean and seal your roof at the first sign of aging or weathering. Don’t let your RV become an expense rather than an enjoyable family experience.


Hello,
The entire roof sealant is cracked and flaking up in huge long pieces. Every step I take on the roof I hear it crunching. Can you tell me if I need to scrape off the entire roof sealant, or can I just repaint over everything? I’m using something called Black Jack sealant, from Lowe’s. I’m an older man and I don’t think I have the strength to scrape the entire roof. I can’t afford to hire any help. Living on a small SS check. Last night water came through both overhead speakers onto my dashboard. I really need some advise from pros like you guys! God bless you.
Hello so if its the blackjack elastomeric no you just need to remove the areas that are flaking. You don’t want to get any chips of the blackjack on the roller when you are applying the rvroofmagic. just be sure the surface is perfectly dry before application
Thank you