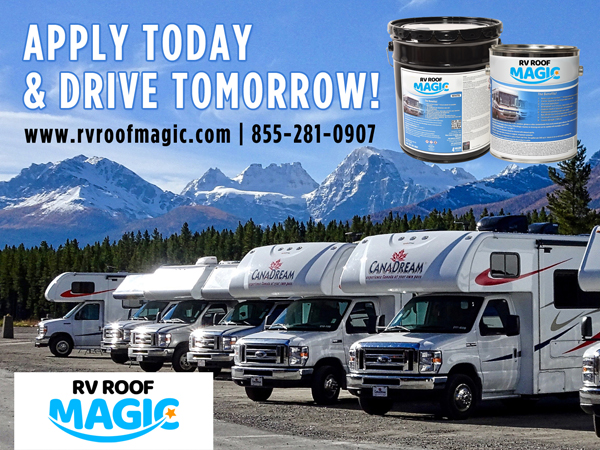
RV Roof Magic is a unique product that features a one-coat application to “magically” restore the roof of your RV to a like-new appearance with very little effort on your part. This unique product doesn’t require a primer and covers more square footage with shorter dry times than a lot of sealers and roof coatings on the market today. This product has been around for over 15 years and is often the preferred choice of a number of RVers for all of its benefits and features.
The biggest reason that this product is so successful is because it is designed specifically for RV roofing, unlike some liquid rubber coatings and sealers that are able to be used on any type of rubber roof, including commercial buildings. When you have a dedicated RV solution, it’s always the better option.
The Perks and Features
RV Roof Magic has a lot of different features that make it popular:
- Single-coat application with no primer needed
- Can be used over TPO, EPDM, fiberglass, metal, alpha roofs, and even other roof coating materials
- White reflective finish offers better insulation and interior climate control
- Built-in mildewcide and fungicide
- Ozone and UV resistant, waterproof immediately, and easy to clean up
- Seamless, flexible and durable finish that will provide a longer-lasting roof solution
The Application Process
Before you apply the RV Roof Magic sealant, you will want to make sure that your camper roof is clean and dry. Thoroughly inspect your roof and make sure that you check for separation or tears around seams or vents. Remove old or loose caulk and wash down the roof with a mild cleanser and a soft bristle brush to assist with debris and dirt removal. Once it is thoroughly cleaned and rinsed, let it dry completely before you start to apply the sealant.
This product is ready-to-use, which means you don’t have to thin it out before starting. Simply mix it for about five minutes using an electric drill. If you don’t have one, you can rent one from your local home improvement store. Then, you can use a long-nap roller to apply the sealer to most of the roof and a small paintbrush to complete the application around vents, AC units, and other parts of the roof.
Tips for Success with RV Roof Magic
- Although the surface will dry within four to 10 hours, you should wait 24 hours after resealing your RV roof to go on a journey.
- Always plan your coating project when there is no rain in the forecast. It can be difficult to get the material to dry and cure properly when it is raining or too damp.
- If you have garage space available and can apply the coating indoors, make sure that you are using a respirator.
- Make sure that you completely clean and prep your roof prior to starting the coating process.
Choosing the Best RV Roofing Solutions
Whether you go with this product or any of the other sealants on the market today, it will be up to you to research your options and see what each has to offer. Quality roof coatings can extend the life of your RV roof and give you plenty of benefits to enjoy, including those listed above. Although many sealants are similar in nature, there are no two that are identical. Therefore, what works best for you might not work as well for someone else. Consider your RV roof, your personal preferences, and what other people have experienced to get the best sealing and recoating solutions for your RV. That way, you can protect your investment and enjoy more time out on the open road.


I recently applied your product to my rv.
My rv roof is 8 ft x 23 ft and I only used one and one half gallon of produce using a roller.
How much should I have used. I expected to use much more but the product is thin and goes on like paint. Should I be putting it on with a squeegee to get a thicker coating?
for the flash coat about .75 gallon for 100 sq ft then let dry for 3-4 hours and the balance of the product will put you at a 20 mil
Thank you