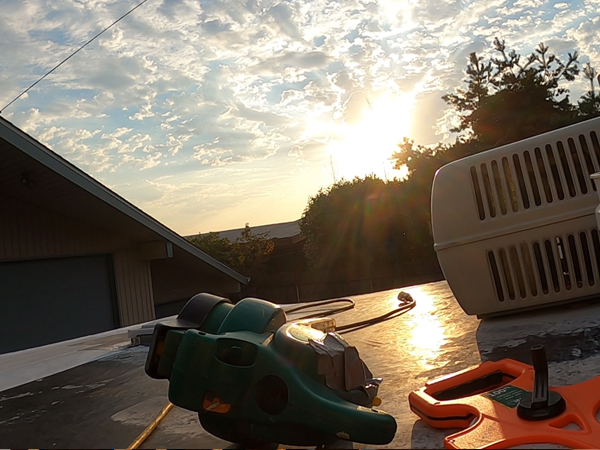
Owning an RV is equal parts fun and work. Getting set up before a long journey means carefully inspecting your vehicle, loading everything up, and making sure you have whatever tools you might need while on the road. Part of this prep means making any necessary repairs, and one of the main repairs you might end up making is to the roof. Thankfully, RV roofs are pretty special in that you can do most of the repair work on your own. As long as you get the right equipment, you’ll have a new roof in as little as a couple of hours. But before you get started, you might be wanting what tools you need to make a fix. Let’s take a look.
The Right Tools for the Right Job
When you’re preparing your equipment to make an RV roof repair, it’s wise to start at the beginning and lay your tools out in order. This way, you don’t forget anything at any step along the way. You’ll have everything laid out according to how you’ll make the repair, so all you have to do is reach out and grab it.
Cleaning Equipment
First, plan out what you’ll need to finish the job. How will you get onto the roof? Do you need a ladder? Are there any leaks or holes that would need filling before you apply a new roof coating? When was the last time you cleaned your RV’s roof? Ideally, you should be cleaning the roof before any repair, so be sure to prepare a roof clean specifically for your RV’s roof. Prepare scrub brushes that will clean your roof without being harshly abrasive.
Patch Jobs
From there, plan out what tools you’ll use to repair. If you’re repairing aged flashing or caulking around a vent or antenna, you’ll want to purchase those materials beforehand. A knife or razor blade will help remove any old sealant that could prevent new caulking from adhering to the surface. Also, consider purchasing some repair tape that can help you make a more successful repair.
Liquid Roofs
Applying a new EPDM or elastomeric roof will also need a specific set of tools. If you’ve chosen to go with a liquid roof, you need to prepare paintbrushes or rollers. We recommend going with a roller with an extendable handle, otherwise, you’ll be bent over for at least an hour as you apply the coating. It is also possible to find sprayers; however, unless you are applying a new roof to a very large area, you likely won’t need anything that extreme.
Some hardware stores and RV supply stores will sell maintenance kits that include everything you need, but not all do, so be sure to know what you need before you go shopping.
Double Check That You Have Everything
After you’ve assessed the situation and planned out everything you need, it’s time to go shopping. Before you head out, double-check your list to be sure that you’ve not forgotten anything. After purchasing your materials, lay them out as we advised, and you’ll be good to go!
To make a truly successful RV roof repair before you head out onto the road, you want to make sure you have all the right tools to make the repair. A little organization will make the job go by so much faster, and you won’t have to keep climbing up and down a ladder to find materials. Taking the time to prepare a little beforehand will save you a lot of energy and frustration throughout the repair.


