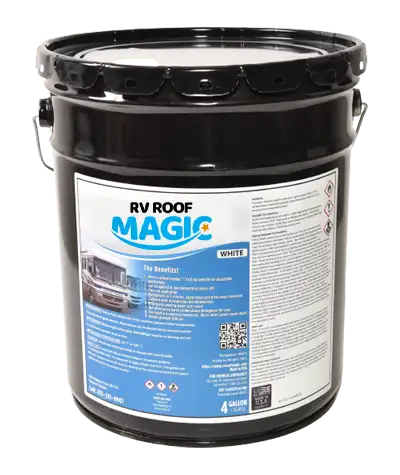
We wanted to thank Mark S from Merlin Oregon for his 5 star Google review and his very detailed application testimonial!
I just did my 23-foot RV roof on my 1999 Fleetwood Tioga. There were tears in the original roof and I had previously covered the roof with Pro Guards Liquid Roof RV for EPDM roofs. It lasted 14 years but had pin holes in the application. This led to some leaks. There was a couple of gaps in the seam that were over 1/4 inch. that was covered with several layers of Dicor. I ordered the stuff and 4-gal pail. I also ordered the seam Tight and the Poly fabric for the gap. I also ordered the concentrated cleaner and the Rubber caulk.
while I waited for my order to arrive, I gave the roof a cleaning with dish soap and my Ryobi power scrubber with the course brush. it removed a good amount of the dry white rubber from the surface. I then hit is with the pressure washer. More of the white runner powder came off.
when My order came, I decided to give it an extra cleaning with the Rv roof cleaner/protect. The amount of white powder that this removed was amazing. If you do this, it is a must to buy this cleaner. It removed stuff that neither of the first 2 cleanings would touch. I then decided I wanted to start out with as flat of a roof as I could. I took an angle grinder to the multiple layers of Dicor and other unknown sealants and ground it all off. That is when I found several patches and some more larger gaps from previous leaks. I then used the Poly fabric and the seam tight to fill the gaps and placed the poly fabric on the top of the seam, I then applied more seam tight to saturate the poly fabric. after letting this dry for 5 days. I decided since there were places where the roofing was not folded around the edge and adhered that I would adhere what came up with Contact cement and then use 6″ Eterna Bond tape all around the edges of the roof and the vents and any other rips that were in the roof. I followed the Rv Roof magic recommendation to Sand the tape. I used a palm sander with 80g sandpaper, this had the added benefit of pressing the tape firmly to apply good pressure for better adhesion. Then applied contact cement to all the Eterna Bond tape. I then applied the flash coat (EPDM ROOF) and let it dry. after a few hours, the roof was dry. I then applied the first coat. I thought I was putting enough on, but after rolling it on the entire roof I barely used any. so, the next day when it was dry I did a second coat. This time I really put it on heavy. I still have half a bucket. so, after 2 more days I decided it was better for the material to be on the roof that hardening up in the shed. I applied the most I could loading up the roller and only rolling a 2-foot stripe. After i was done I still have about a gallon left. so, I applied the rest using a paint brush around the side edge of the Eterna Bond tape and where the Eterna Bond tape met the roof so That I could hide the tape seam. some areas it went on a bit thick and caused the EPDM roof to blister a bit, but after a couple of days it went flat again. The roof now has an extremely thick layer of rubber on it, and it looks great since I did not apply it over the multiple layers of Dicor and ground it flat with the grinder. The Eterna Bond tape flattened out the roof where there were cracks and defects and make the transition from RV Roof Magic to Eterna Bond tape unnoticeable. And best of all No pin holes when the product dried.
I wish I would have had time to take before and after pictures or even made a video, but I did this by myself without any help and needed to get this done before our camping trip this year.


